A digital mic, or micrometer, is commonly used in shops to quickly check part sizes are correct. But what happens if the mic was calibrated incorrectly the entire time? That would mean every measurement is wrong! That’s why properly calibrating your micrometer each morning is so important. Follow this quick video to ensure your mic is accurate and ready to use.
Video Transcript:
”
Welcome! Today we’re going to go through how to use an OD micrometer.
what we have here is a digital micrometer, simply referred to as “mics” in the biz. What we’re going to do is we’re going to run through what you should normally do every day before you start measuring parts. A checklist to ensure that you have proper, adequately adjusted/calibrated micrometers.
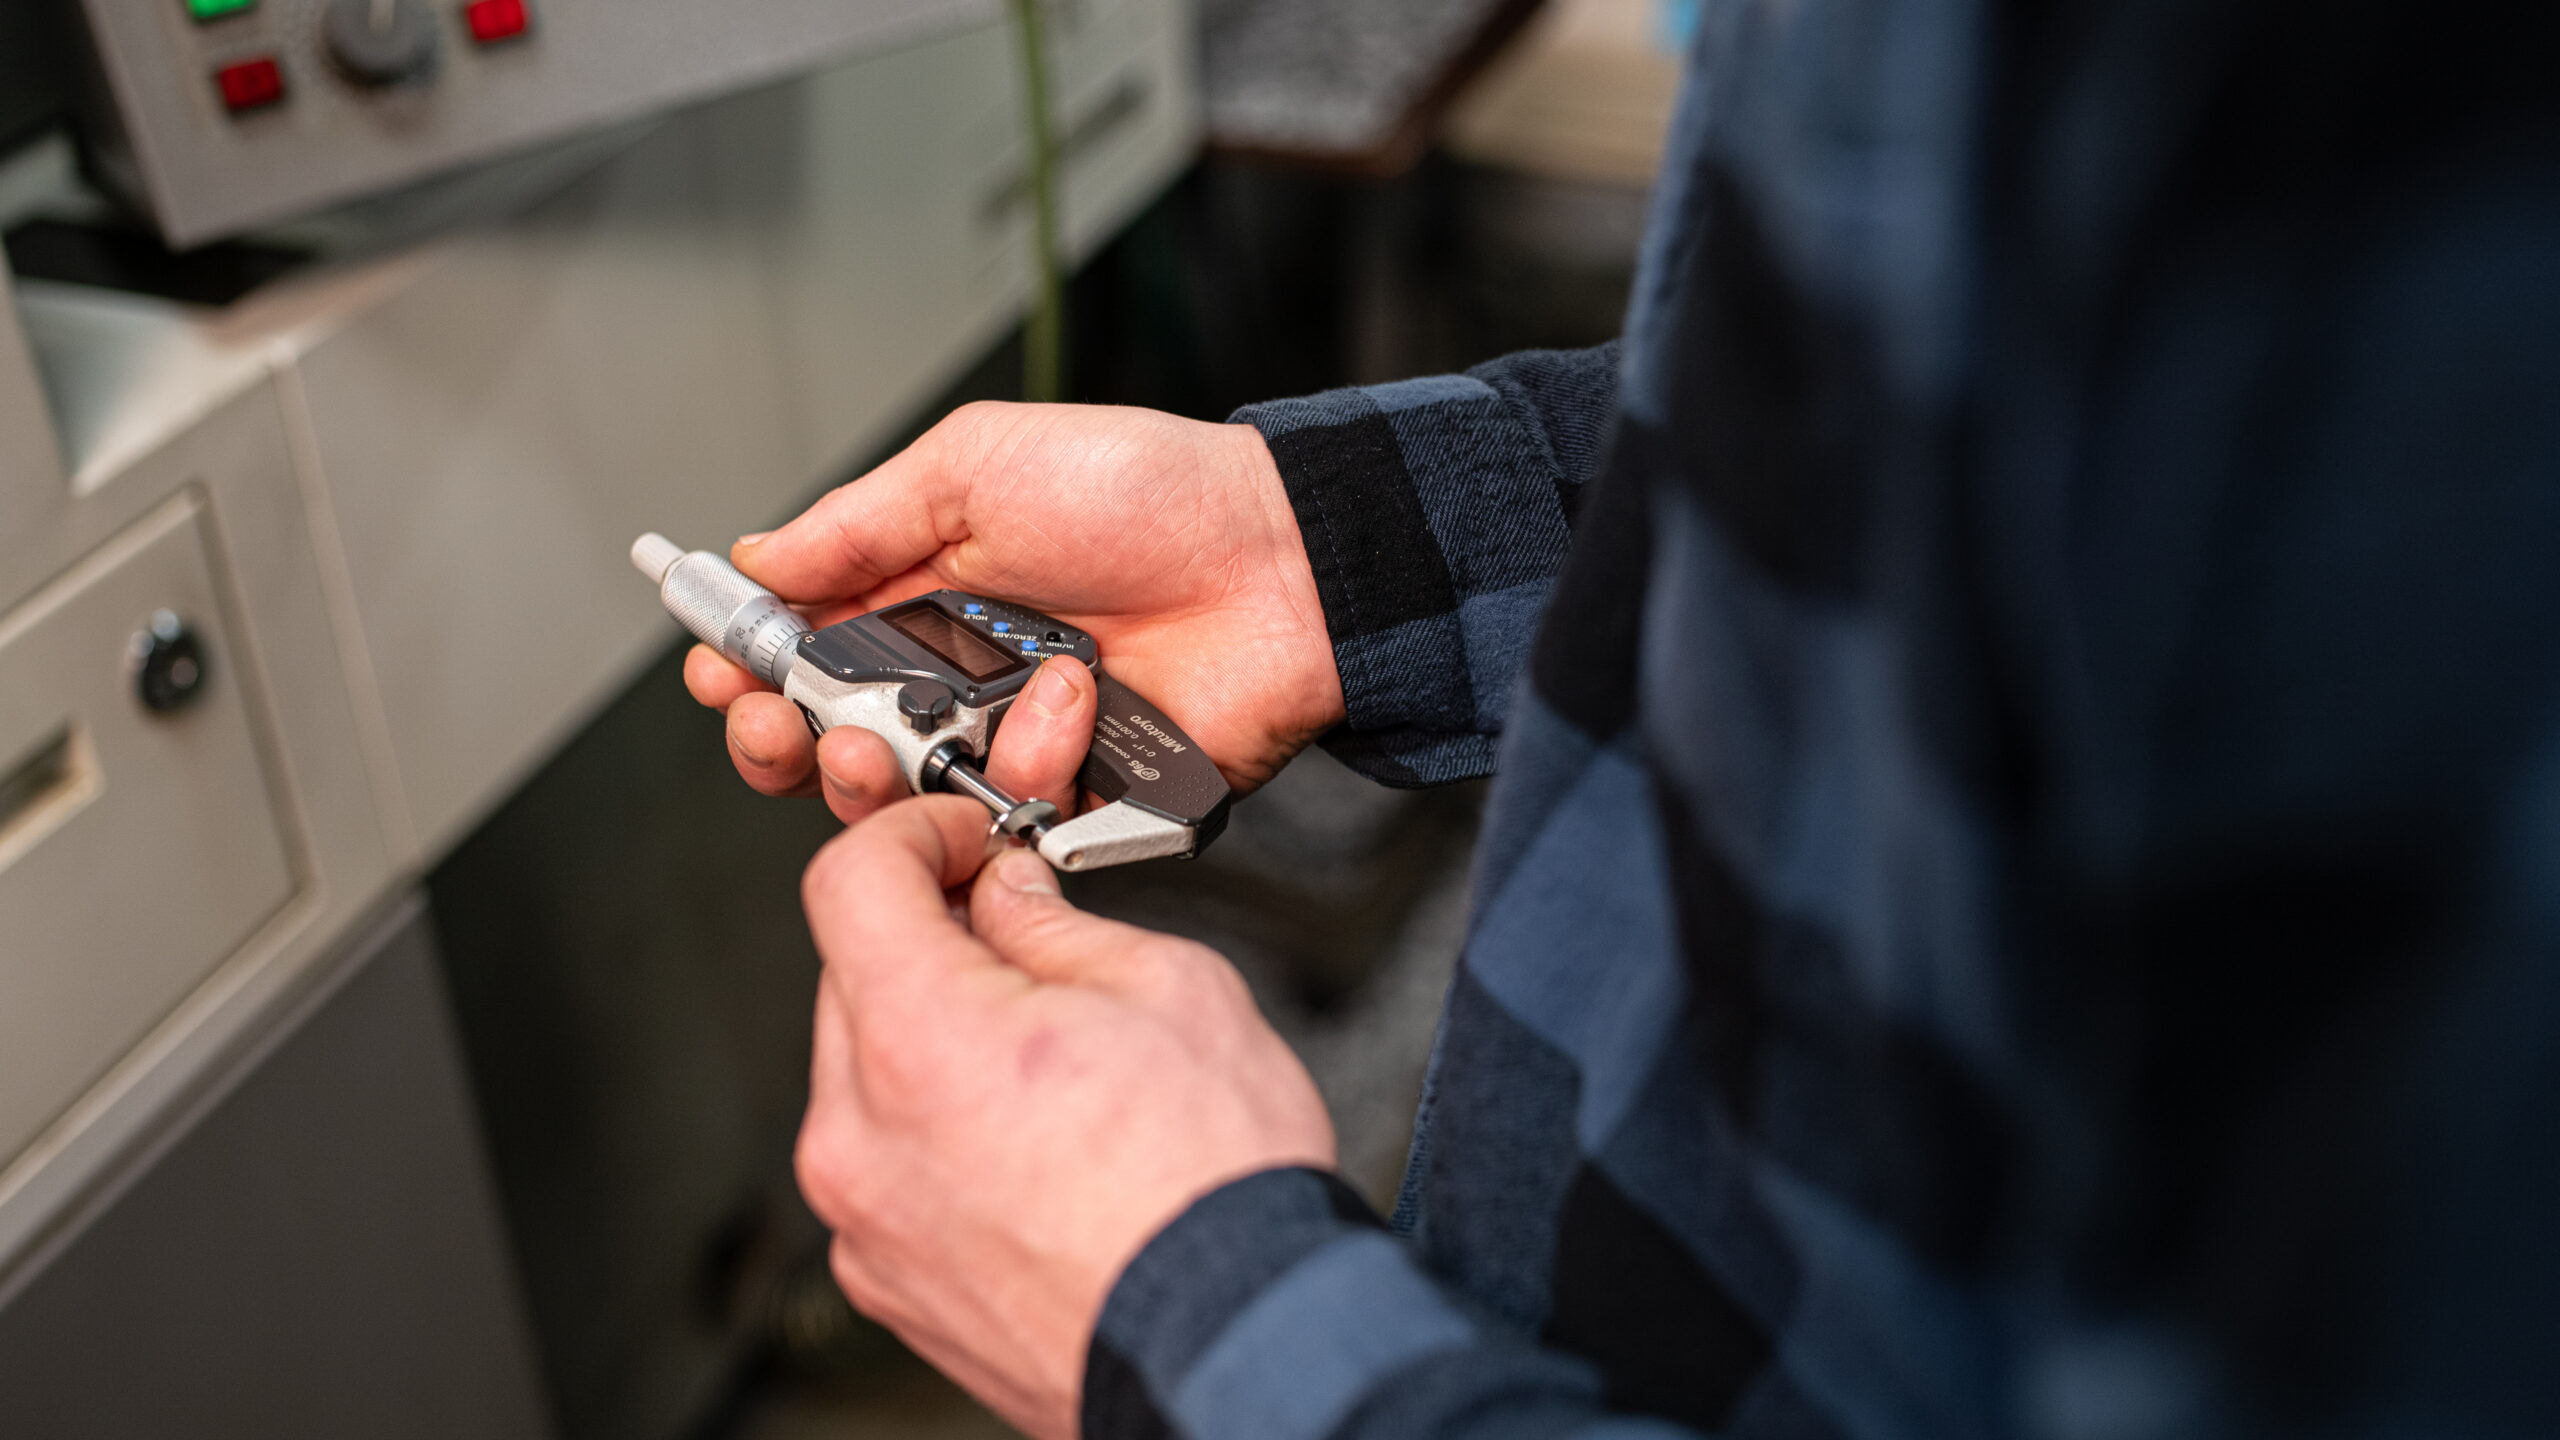
First thing you start with, take a micrometer and turn it on. You open it up, slide a piece of paper in-between the anvil, and slowly close with gentle pressure. You can see some mics have a spindle here. Some have a thimble. Here we have a ratcheting thimble.
We’re going to use the ratcheting thimble. Slowly, with constant pressure. If you can hear it, it ratchets. That means you’re closed. Slide the paper out and now you should have a clean set of mics. We will now hit the origin. Zero it out.
Now a good rule of thumb too, is to open this up and now check this against a standard or a gauge block. What we have here is a one inch standard. Remember we’re always going to keep constant, consistent force on this ratcheting thimble, okay? You can see it zeroes out at one inch.
I have a bolt here that we can test. Like I said, as we get close we want to keep that pressure consistent while ratcheting it down. You’ll hear those small, little clicks and now you have your reading.
One other thing to keep in mind is that if you’re using this for inspection, you should always have some type of calibrated sticker on here that says it’s within date or not.”