Dimensional stone manufacturing is very hard on the equipment and can damage tooling over time. Damaged tooling in turn can damage a machine, adding up in costs! You can prevent this. Take our tips on inspecting and maintaining your stone toolholders and pull-studs now!
Video Transcript:
“As we all know, manufacturing in the dimensional
stone industry is very hard on equipment.
Equipment is exposed to mineral
particulate, a harsh water environment,
or other oxidation-causing elements. This
is in addition to the typical wear you see
from the tool connection process–making it
all more important to maintain your tooling.
In this video we’re going to talk
about two components: the pull stud,
and the tool holder. The pull stud is critical
to pulling the tool into the machine spindle.
It experiences high pressure and clamp forces
from the drawbar inside the machine. You should
frequently inspect the pull stud for cleanliness
and wear. There are two main areas of the pull
stud that you need to pay close attention to.
The first area is the head or this diameter right
here where the gripper will actually come over top
of. And then on this particular pull stud, is the
underside of the head. So this angle right in here
is where the gripper fingers actually make contact
with the pull stud, and pull the whole tool holder
back into the spindle. You’ll see in the examples
to follow we have several areas that particulate,
or other minerals or dust debris from the process
will actually build up inside and underneath this
and on this head; causing interference with the
fingers to grab and pull that retention knob.
If not properly cleaned, that debris will
actually cause an interference between the
fingers and the pull stud, and cause damage
to either the fingers or the pull stud.
So in this example you can see there’s particulate
that’s stuck up underneath the head of this
part causing an interaction between the
pull stud and the grippers to deflect.
You see the ridge, you can see some of
the other contaminants in the way. Again,
causing a pinch point and potentially damaging
the retention knob or the gripper fingers.
In these two examples, you can see permanent wear
or even deformation marks underneath that head,
suggesting that these pool sleds are wore out
and need to be completely replaced with brand
new pull studs. Using these continuously
will cause wear to your gripper fingers and
other parts of your drawbar
system inside the spindle.
This is the example of that pull stud cleaned up
after, and as you can see, the underside head,
after all the particulate is removed, appears to
be in a good finish. No major chips, dings, dents;
whereas the fingers can still come in and
make a good contact point on the pull stud.
Now the best way to maintain, check, and maintain
your pull studs is using some type of light,
non-abrasive Scotch-Brite pad.
They make several different
densities of these that you can get in there
and it’ll scuff that particulate off the
pull stud without actually removing
any raw material on the pull stud.
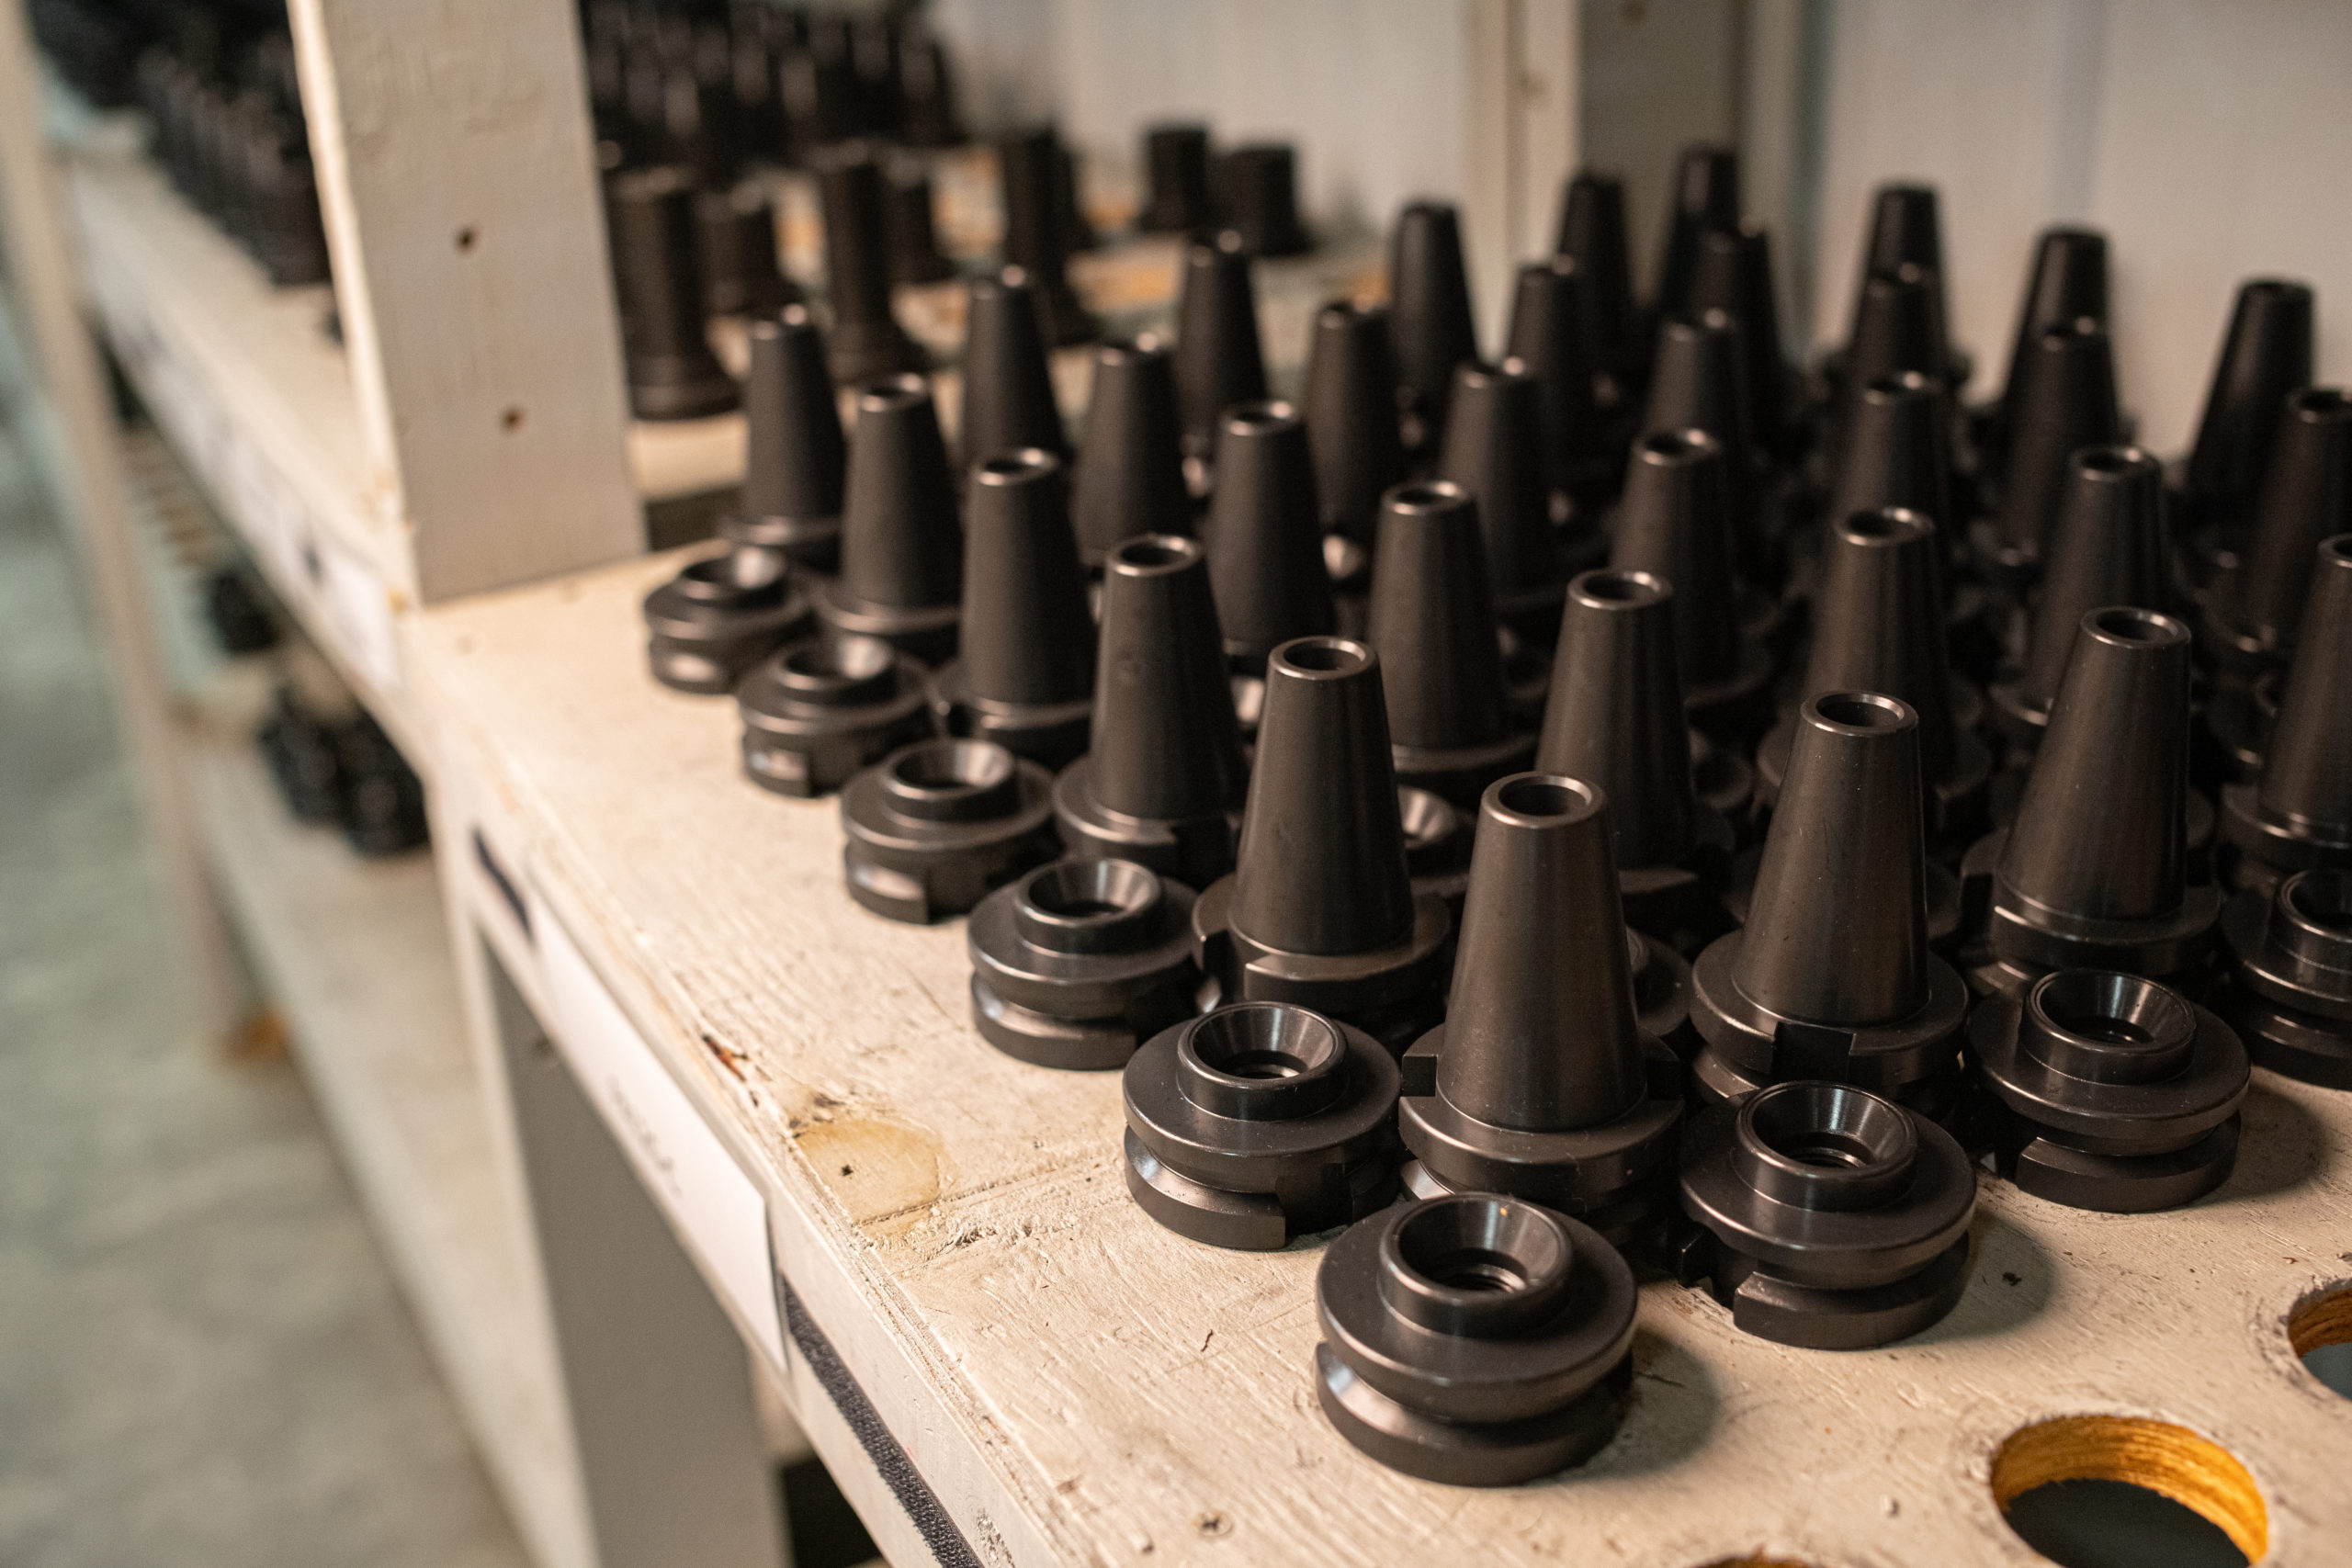
Tool holders also have an important feature
that makes connection with the machine spindle
that you have to properly maintain
and inspect frequently. This taper
across the end of this tool holder–once the
drawbar pulls the pull stud into the machine,
mates the taper to the taper of the spindle,
causing a high pressure interference contact.
What’s important is to make sure there’s no
particulate elements debris on this surface that
will otherwise get smushed in between the spindle
and the taper. Not properly maintaining this or
keeping this clean can cause a few different
issues in your machine. One being run out, or
chatter that you’ll actually see in your cutting
tools in the material you’re cutting. So it’s
very important to keep this clean.
So while you’re
inspecting your cones and specifically your taper,
there’s a few things to look for. One, you’ll
be able to see as the as the tool holder wears
to the spindle of the machine, the main contact
points of where the machine and the spindle mates.
Each machine will be a little bit different,
but you’ll see the shiny areas of the contact.
When you’re inspecting them it’s important to
run your finger, or rag, across them to feel for
raised edges, contaminants, particulate, anything
that would cause an interaction or run out in that
connection.
This is an example of a cone
that is due to be cleaned. It’s still
relatively in good shape, but is needing to be
cleaned and removed to be able to continue using.
This is an example of a cone that’s probably
towards the end of its life, and if you put a tool
in it and checked run out you would see some type
of run out caused from the damage on the cone.
Captured in this, you can see small
little deformations from where material or
particulate was caught between the spindle
and this tool holder either causing dents,
dings, rises, or even damage to
the spindle of the machine itself.
You could see up towards the top where the machine
tries to remove, or push that particulate away,
but ultimately still traps it at the edge
causing damage at the end of its connection.
This should otherwise be removed and
recycled, and replaced with a new cone.
In this example, there’s two cones very similar in
age. One is before, one is after. This cone here
you can see has been removed from the
machine. There’s contaminants, particulate;
there’s build up on the cone and needs to be
removed and cleaned. On this cone, you can see,
like the retention knob or the pull stud we
use the Scotch-Brite or some non-abrasive pad,
and cleaned the cone up to remove all that
particulate leaving a nice clean smooth finish
where the taper makes contact with the spindle.
This is what you want your used cones to look like
in order for good operation.
In some instances tool holders might make contact
with each other, things may bang into your
tooling, causing dents and dings on your tooling.
That’s okay as long as you identify it and remove
any ridges. In this example you can see something
had collided with the taper causing a slight ding.
The important part if you identify these, is
to make sure that none of that area that’s
that’s been dented is raised up above the
material around it. If this dent protrudes
upward where it may make contact with
the spindle first before the taper does,
that will cause issues with run out and
needs to be removed from the tool holder.
Routine preventative maintenance will not only
prolong the life of your tooling, but your
machine as well. Cleaning that tooling frequently
with non-abrasive pads, such as Scotch-Brites
will help with that. Remember: using worn,
damaged tooling will cause damage to your machine,
and cause poor finishes in the
stone. I hope you found this
video to be informative and give you enough
information to inspect your tooling today.”